How to Wash Cloth Diapers
Switching to cloth diapers from disposable diapers offers notable benefits for both your wallet and the environment. Every year, millions of tons of discarded diapers pile into the country’s landlands, taking centuries to decompose and infecting our ecosystem with toxic gases and hazardous chemicals. By opting for cloth, you’re not only making a difference; you’re ensuring that your baby’s soft skin touches only the cleanest, least chemically soiled diapers. Plus, washing them is simpler than you might think and totally worth it.
Despite what the initial “ewww” factor might suggest, it’s perfectly safe to wash your favorite white T-shirt—even the lone stain-free one—in the same machine that launders loads of cloth diapers. If you follow the outlined advice and tips, I promise, your clothes, sheets, and towels won’t smell like poo forevermore. It’s about getting past those squeamish thoughts and recognizing the routine as part of a sustainable lifestyle. Remember, what’s good for the planet is good for us too!
Before You Wash Cloth Diapers
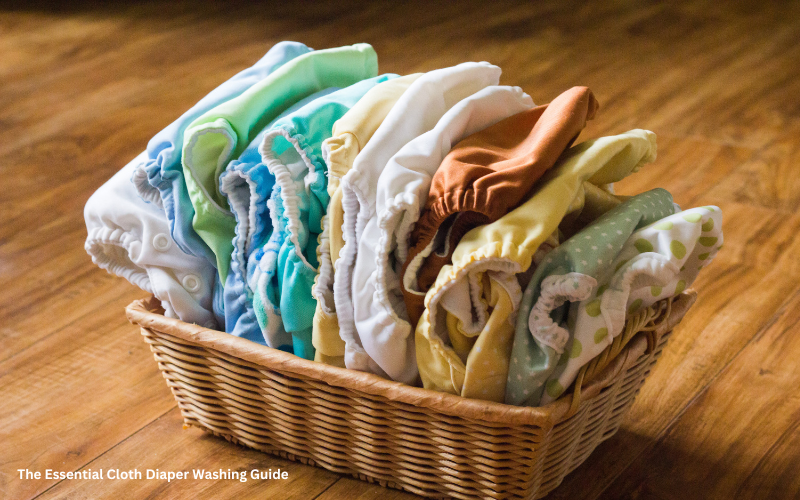
Before you toss those cloth diapers in the wash, it’s crucial to take a few preparatory steps. First, check the product packaging or the company’s website for recommended washing guidelines. Many cloth diaper companies provide precise instructions that should be followed to maintain the warranties and avoid mishaps if things go awry.
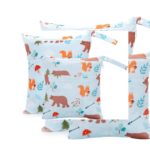
When it comes to storing dirty diapers until you’re ready to wash them, you have several options. Most parents decide to use containers designed specifically for cloth diapering. You can add liners to these containers or regular laundry pails to make cleanup smoother. For those times on the go, a zippered and waterproof wet bag proves handy. And if you’re worried about the smell, consider using deodorizers aimed at reducing diaper smell, keeping everything fresh and tolerable until laundry day.
How to Wash Cloth Diapers
Step 1: Remove Solid Waste
Whether your baby is breastfed or formula-fed determines your approach here. For breastfed babies, the poop is water soluble and doesn’t require special removal; many moms simply toss these soiled diapers into a pail or bag designated for storage. However, for formula-fed babies or those on solids, their diet makes the waste less forgiving. Here, you’ll need to dump, drop, scrape, or spray the solid poops into the toilet before storing the diaper with the other dirties.
Many parents opt to use a diaper sprayer, which are sprayers that attach to your toilet like mini-showerheads, making it easy to swish the diaper around in the toilet’s bowl. Alternatively, a spray bottle filled with tap water can be used to spray or swish the waste until it’s removed effectively.
Step 2: Put the Dirty Diaper into a Pail or Bag, Until You’re Ready to Wash It
Step 2 focuses on how to properly store the dirty diaper until you’re ready to wash it. Once you’ve removed the poop using a toilet bowl or water sprayer and dealt with any trouble by rinsing, it’s essential to ensure the diaper is still wet, almost nearly dripping, before placing it in with the other dirty diapers that haven’t yet been washed. Keeping the diaper remaining damp until washing is the secret to having your baby’s poop effortlessly wash out with little to no staining.
For pee diapers, these can go straight into the pail with no prep work needed. This simplicity helps streamline the process, allowing you to focus on ensuring that all diapers are ready for the next stage of cleaning.
Step 3: It’s Time to Wash the Dirty Diapers
Step 3 begins with deciding how often to wash dirty diapers. Ideally, plan to wash them every day, or every other day; waiting longer can cause issues like mildew stains and necessitate extra wash cycles to get the diapers clean. When it’s time, start by dumping the dirties into the washing machine and running a cold cycle with a pre-rinse or speed wash setting using cold water and NO detergent. This helps to loosen any lingering muck and reduces staining.
Next, run the dirties through a second, warm or hot cycle with a cloth-friendly detergent. Adding a little baking soda to the detergent offers a power boost, helping to neutralize acidic odors and remove protein-based stains. If your machine has an option for an extra rinse, use it to ensure a more water thorough clean, reducing staining and potential residue.
To protect your investment, avoid using bleach or fabric softeners like Dreft, as they can coat the cloth diaper’s fabric, leading to buildup and preventing optimal fabric absorbency. Bleach is a harsh chemical that can damage fabrics and cancel manufacturer warranties. Instead, if extra cleaning strength is needed, a smallest amount of vinegar can be added to the laundry for its strong cleaning acid properties, helping to make fabrics softer and fresher without the harsh effects.
Step 4: Air or Line Dry the Cloth Diapers
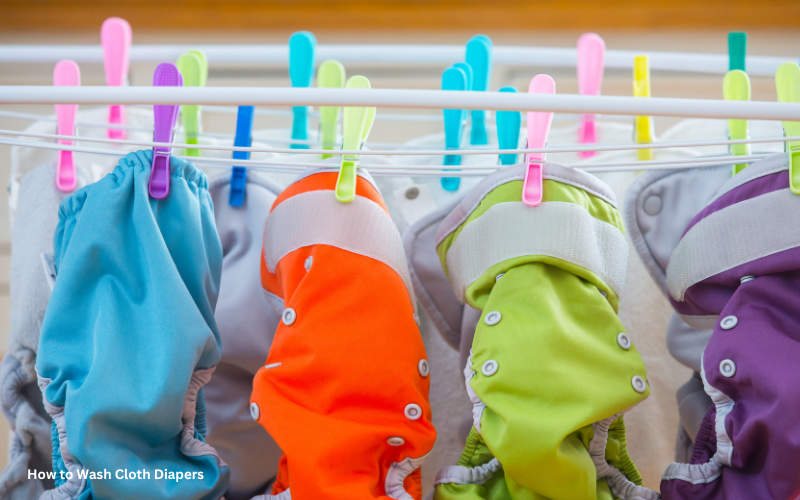
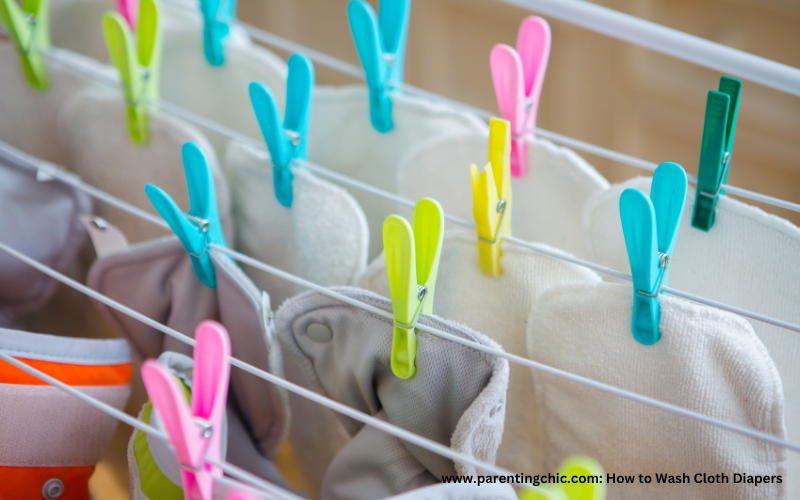
For Step 4, once your cloth diapers are washed, the next crucial phase is drying. The best method for drying cloth diapers is to air or line dry them outside. The sun not only defeats bacteria with its freshness but also helps ensure your baby’s bottom receives the best results. This method also reduces staining significantly. If line drying outside isn’t an option, setting up a clothesline inside your home can still offer the benefits of line drying, such as an extended lifetime for the diapers without the sunny fresh scent.
Should the weather or living conditions not permit outdoor drying, using a dryer on low settings is an acceptable alternative. However, frequent use of a dryer can lead to wear and tear, and potential damage to waterproof linings, Velcro, buttons, and snaps. Always check the drying instructions on the product or brand’s website before using a dryer, and avoid higher heat settings to prevent the fabric from losing softness. Remember to hang the diapers in a manner that supports the elastic and avoids stretching it under the weight of the wetness, which could compromise the elastic stretch.
Additional Tips
To manage your cloth diapering experience on the go, carry waterproof bags. Whether dealing with soppy, smelly diapers or an adorable, soft onesie that was explosively attacked at the backside, zippered and waterproof wet bags will become your best friend. These bags allow you to carry around soiled items without any mess or odor escaping.
For those looking for easier cleanup, try disposable diaper liners. These liners, resembling dryer sheets, are placed inside the cloth diapers like a maxi pad and can offer additional stain protection, making them particularly appealing for their faster cleanup and because they are biodegradable and flushable.
Use baking soda to keep things fresh—add it directly to your diaper bag or pail to maintain a smelling fresh environment throughout the day. If managing the washing seems overwhelming, consider a diaper cleaning service. Despite what you might think, the cost of such a service is often less than continuously buying disposable diapers. Local diaper cleaning services not only clean but often provide a diaper stripping service, adding value and convenience to your routine.
If these methods seem too daunting or if you find yourself shaking your head in disbelief, remember that modern solutions are available that can help lower weekly expenses and offer a practical alternative to traditional methods.
Stripping Cloth Diapers
Stripping your cloth diapers is a specific type of wash treatment designed to remove build-up from the fabric of the diapers that accumulates over life. This process is likely needed when you notice your diapers smell even after being washed, or they smell strongly after just one pee. Stripping helps return the diapers to their original state, especially useful if your baby’s diaper starts to leak and you’ve checked that the fit is still good.
To effectively strip the diapers, fill your washing machine with clean, washed cloth diapers, set the temperature to very hot water, and use a laundry treatment meant for stripping diapers—like a few drops of original blue Dawn dish soap. Do not add any other detergent or extras. If after the process the smell persists, or if your baby continues to get rashes, you may repeat this laundry treatment up to three times. Dry the diapers thoroughly after each cycle. This process can be repeated monthly to maintain the diapers’ effectiveness.
For those with soft water, if you suspect the problem is detergent buildup, simply run the diapers through the wash on a very hot water cycle with no additive and no detergent. Continue until you see no suds in the water during the wash, ensuring all residues are removed. This patience in the routine ensures your diapers are not only clean but also kind to your baby’s skin and free of irritants that could lead to discomfort or potential baby rashes.
Takeaway
Begin your adventure in cloth diapering by choosing to start small. It’s perfectly fine to test the waters with just two or three cloth diapers to see how you feel about the process. Remember, cloth diapering isn’t for everyone, and that’s perfectly okay. If you decide to stick with disposable diapers, don’t feel bad. The benefits of cloth diapering can greatly impact the environment, potentially much more or less than disposable diapers, depending largely on the laundering methods used.
When it comes to cloth diapering, remaining patient and staying determined are the key to success. Take the time to refine and establish a routine that works best for you. This approach ensures a smoother transition and a sustainable practice tailored to your lifestyle and preferences.

